Ever stared down a stubborn Bearing Buddy, wondering how to liberate it from your trailer hub? This seemingly simple task can turn into a frustrating ordeal without the right know-how. This comprehensive guide deconstructs the Bearing Buddy removal process, providing you with the tools and techniques to conquer this common trailer maintenance challenge.
Bearing Buddies, those ubiquitous chrome protectors, are designed to keep water and grime out of your trailer wheel bearings. But when it's time for maintenance, knowing how to detach them properly is crucial. Incorrect removal can damage the hub, the Bearing Buddy itself, or even the bearings, leading to costly repairs and potential safety hazards on the road.
The Bearing Buddy, invented in the 1950s, revolutionized trailer wheel bearing protection. Before its arrival, bearings were frequently exposed to the elements, leading to rapid wear and tear. This simple yet effective device drastically improved bearing longevity and reduced maintenance needs. However, despite their protective nature, Bearing Buddies must be removed periodically to allow for proper bearing inspection, cleaning, and repacking with grease.
One of the main issues encountered during Bearing Buddy removal is seizing. Over time, corrosion, salt buildup, or simply tight installation can make separating the Bearing Buddy from the hub a real struggle. Improper tools or excessive force can exacerbate the problem, potentially damaging the hub or the Bearing Buddy's delicate internal components. This guide will equip you with the knowledge to avoid these pitfalls.
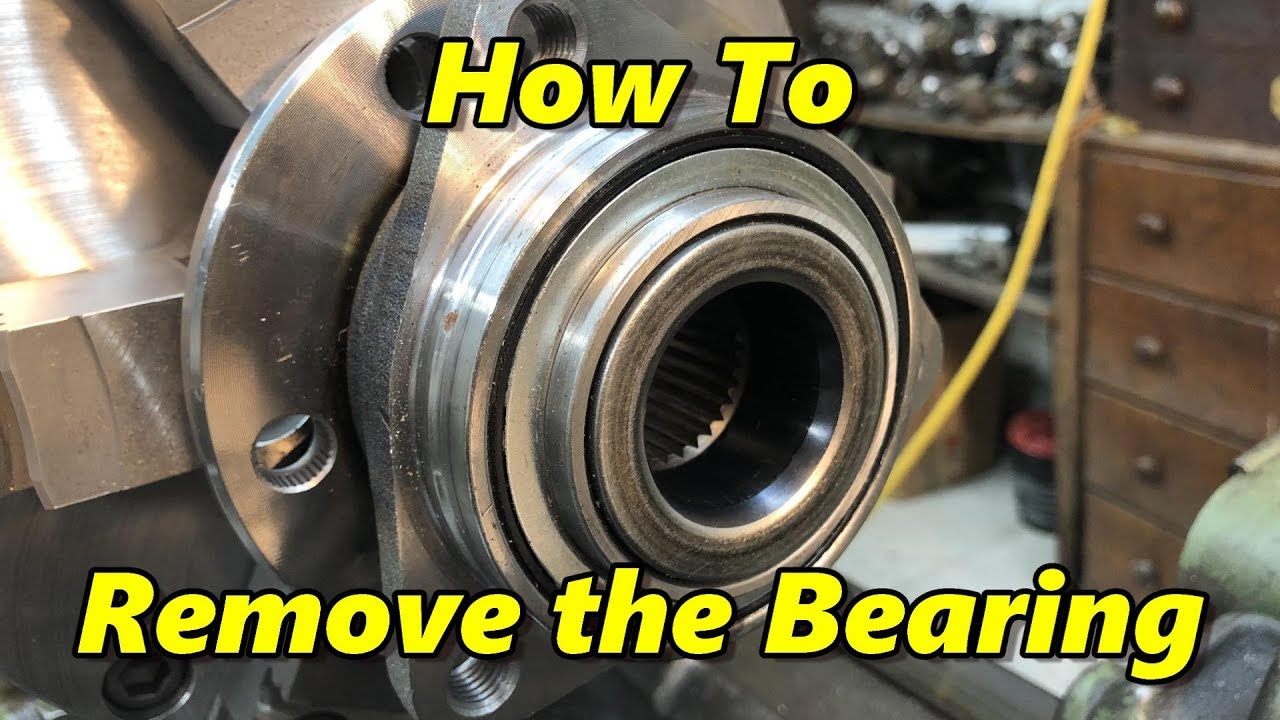
Before diving into the removal process, let’s define a few key terms. The Bearing Buddy is the external protective cap. The hub is the central part of the wheel assembly to which the wheel and bearings are attached. A micro-fracture refers to a tiny crack that can occur in the hub due to improper removal techniques. Understanding these terms will make navigating the following steps clearer and more effective.
One major benefit of mastering Bearing Buddy removal is extending the lifespan of your trailer wheel bearings. Regular inspection and repacking are essential for optimal bearing performance and longevity. By removing the Bearing Buddy correctly, you gain access to the bearings for these critical maintenance tasks.
Another advantage is preventing costly repairs. Damaged hubs, bent Bearing Buddies, or compromised bearings can result in significant repair bills. By following the proper removal procedure, you minimize the risk of such damage and save money in the long run.
Finally, proper removal enhances safety. Well-maintained bearings are crucial for safe trailering. By removing the Bearing Buddy correctly and performing regular maintenance, you ensure the integrity of your wheel assembly, promoting safe and reliable towing.
Step-by-Step Bearing Buddy Removal:
1. Gather your tools: A Bearing Buddy removal tool (highly recommended), pliers, and a soft cloth or rag.
2. Clean the area around the Bearing Buddy to remove any dirt or debris.
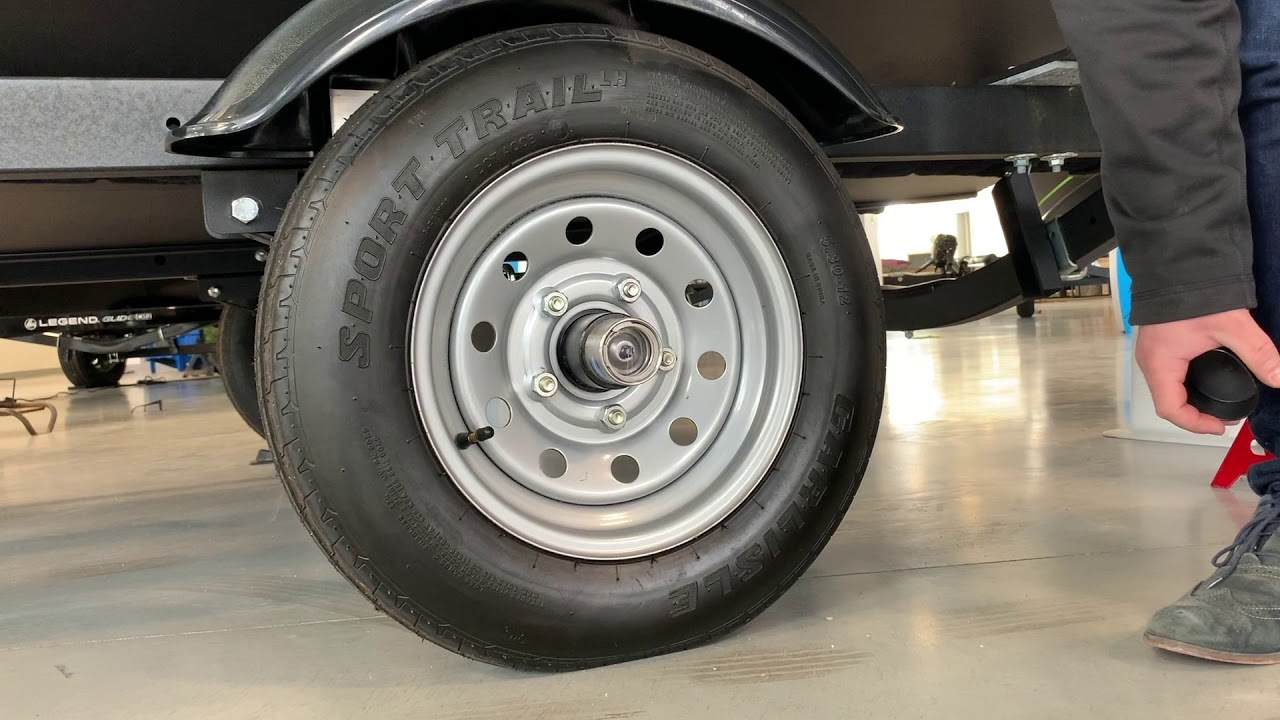
3. If using a removal tool, place it over the Bearing Buddy and gently pry outwards. If using pliers, grip the outer edges of the Bearing Buddy and gently rock it back and forth while pulling outwards.
4. Once the Bearing Buddy is loose, carefully pull it straight off the hub.
5. Inspect the Bearing Buddy and the hub for any signs of damage.Best Practices:
1. Always use the proper tools.
2. Avoid excessive force.
3. Clean the area around the Bearing Buddy before removal.
4. Inspect the hub and Bearing Buddy for damage after removal.
5. Lubricate the Bearing Buddy before reinstallation.Troubleshooting:
Challenge: Seized Bearing Buddy.
Solution: Apply penetrating oil and allow it to soak for a few minutes before attempting removal.
FAQ:
Q: How often should I remove my Bearing Buddies?
A: At least once a year, or more frequently if you frequently submerge your trailer in water.
In conclusion, understanding how to remove a Bearing Buddy is a fundamental skill for any trailer owner. This seemingly small task plays a significant role in maintaining the health and longevity of your trailer's wheel bearings. By mastering this process, you contribute to safer and more reliable towing experiences while also avoiding costly repairs. Regular inspection and maintenance are key to keeping your trailer in top condition and ready for any adventure. So, equip yourself with the right tools, follow the outlined steps, and enjoy the peace of mind that comes with knowing your trailer is well-maintained and ready for the road.
Kansas city weather insights
Ppg vehicle paint colors a deep dive
Maximize your boating experience with a yamaha boat motor lift